2018 Update – Bitcoin Trezor wallets now support Bitcoin, Bitcoin Cash, Bitcoin Gold, Dash, Litecoin, ZCash and also can integrate with MyEtherWallet for Ethereum and Ethereum Classic
Over the past few months, mainly due to hardware problems, we’ve had to abandon Bitcoin Armory due to the blockchain repeatedly getting corrupted, and locking us out from our bitcoins while the blockchain rebuilds. After asking around, we followed the advice of some friends and bought a Trezor wallet. Now we’ve had some time to get to grips with it, and use it, we thought it would be a good idea to do an unboxing of what we received, and talk through the process of migrating our bitcoin wallet from Armory into Trezor.
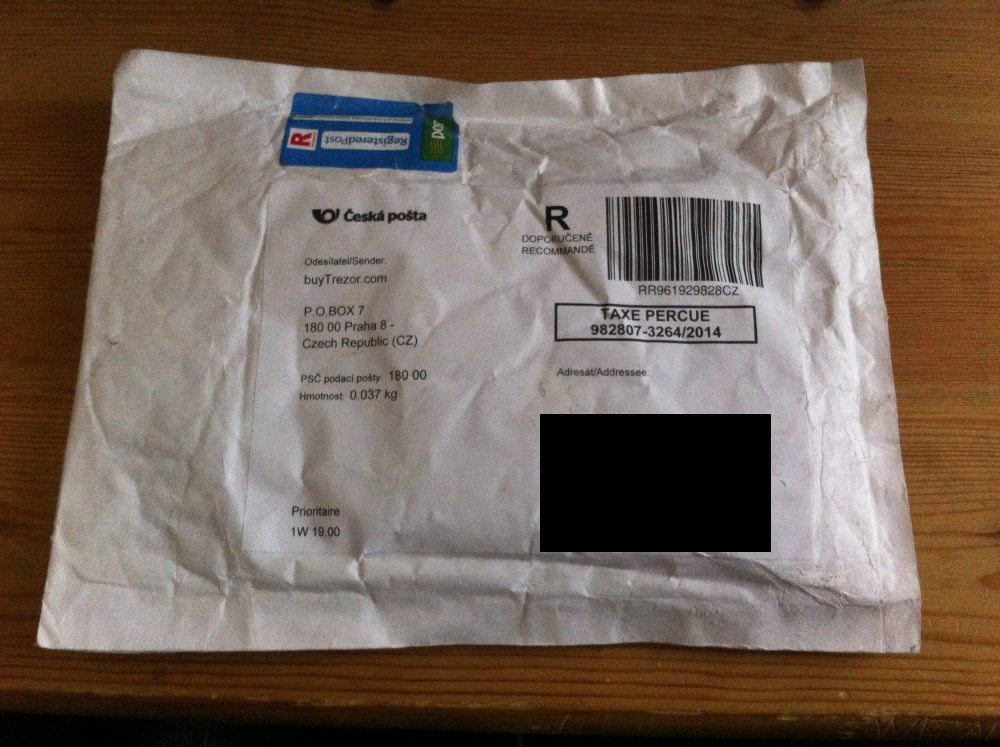
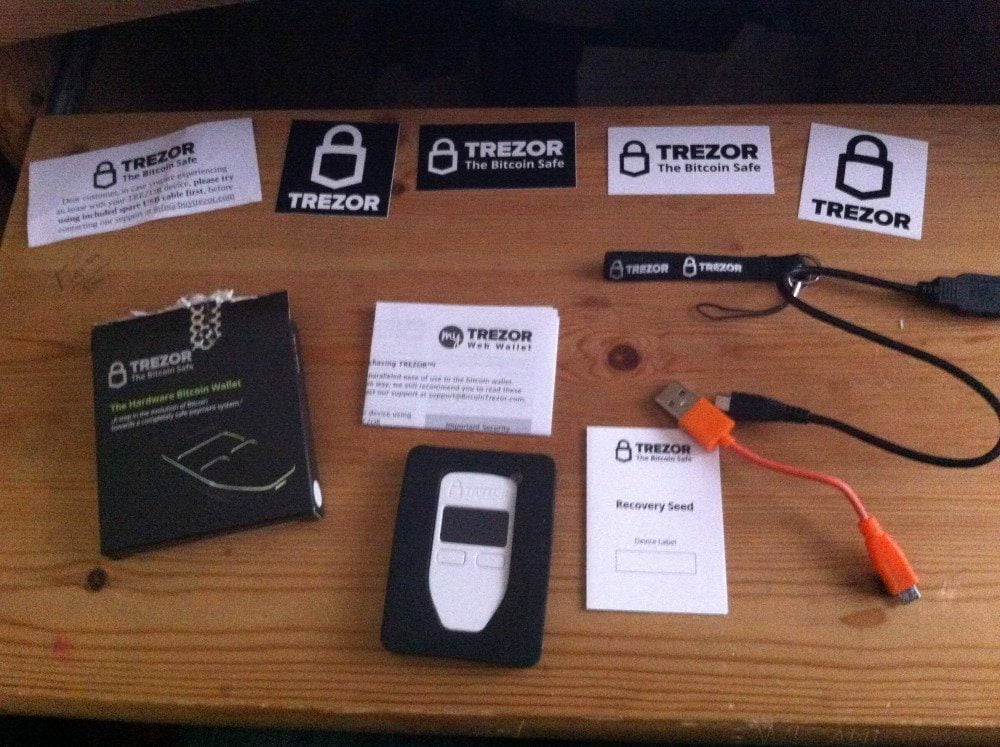
It only took ten days with standard mail for our Trezor to arrive in the post, which arrived in a jiffy bag to keep things protected. We’d opted for standard mail on top of the $99 cost of the white wallet. Opening the package, we were presented with a nice little box with the trezor, and a small note with an additional USB cable in case we had any problems with the one in the package.
Inside was our white Trezor wallet, a selection of black and white stickers, a slip of paper so we could write down our recovery seed as a paper backup, a lanyard to attach to the wallet, and a short USB cable.
Booting up the device, we set up our Trezor web wallet, and installed the plugin for Chrome to talk to the wallet. While initialising it, we were presented with a screen asking us to set up the wallet. It presented us with the first of twenty four words we’d need to write down on our recovery seed. This can only be generated while the wallet is connected via USB, and half way through our first attempt we knocked the USB which reset the process. Starting over again, we went through the process, writing down each word and pressing the button to move forward in the process. Once complete, we could see our first wallet. We also then set up our PIN number, and passphrase for the device.
We transferred a small amount of bitcoin into this wallet, but planned on setting up three different wallets, to mirror our setup with Armory. After the first transaction had confirmed, we were able to set up a second wallet, with different addresses, send this a small transfer, and then do the same a third time. Once set up, we could then proceed to start the process of migrating from Armory. Now there was a lot of manual work to do so on this, as both wallets are incompatible. So starting off we set up new bitcoin addresses. Trezor let us set up twenty at a go, and then asked to make a small deposit to make more, to avoid having tons of blank addresses.
Moving from Armory to Trezor was akin to moving from Android to iOS. With many of the sites we have accounts with, we were able to swap out the bitcoin addresses with our Trezor ones, meaning we could kill the corresponding Armory address without worry. However, in a couple of cases, such as our referral links for our faucet list, and our Eligius mining address, we were unable to move these accounts. In both cases, we had to set up brand new addresses to continue using them. We took the private keys from the relevant addresses, and then swept these into a mobile wallet. This was the one issue we ran into, in that you can’t import existing bitcoin addresses into Trezor.
So once set up, we were able to receive transactions to our new wallets. Transferring coins is very simple, as you can load up the MyTrezor web wallet to see transactions which is based on blockchain.info (so there can be some information delays if that’s down for maintenance) and only need to connect the Trezor when you want to sign an outbound transaction. Trezor uses a unique system for this. When you’re setting it up, you create a pin number. Then when you are signing a transaction, you see a 3×3 grid of black dots on white squares, with the numbers randomly displayed on the Trezor screen. You click the corresponding dot to the number. This is a very secure way of doing things and part of the anti-keylogger approach to the wallet. After entering a passphrase (if enabled), you then confirm your transaction, and again with the fees included. You can see these fees on your web wallet, and put in a priority fee if you’d like.
If you would like to store notes about transactions, or names for wallets, you can integrate a dropbox connection, setting it up as an authorised app, and then be able to sync your wallets across different devices. I did check my wallet URL on a mobile, and it wouldn’t let me see it. However, if you want to connect your Trezor to mobile wallets, there are an ever-increasing list of Trezor compatible apps which support it on Android via the USB cable.
So in review, is the Trezor worth the money? For the amount of convenience, and the opportunity cost we regularly accounted at the end of our experience with Armory, yes it is. It’s nice to have a tangible bitcoin gadget, free up 160gb of hard drive space, not have long boot up times, and it’s made our experience with bitcoin so much easier. Priced at €69 plus shipping, there are cheaper alternatives available, but the pedigree of Slush (author of the Stratum protocol which most mining pools run on these days) being behind the creators Satoshilabs definitely helps make this the original and best wallet we’ve come across. Click here to buy a Trezor
As of 2018, Trezor also now support payments with credit card.
This is a promoted post, but we purchased this Trezor with our own funds. Read more in our Editorial Policy